Now I know that something will probably in the drivetrain with go BOOM if I run the bike at its current state. So I plan to upgrade it before I run it. Anyways, enough about the drivetrain, I'll worry about that later.
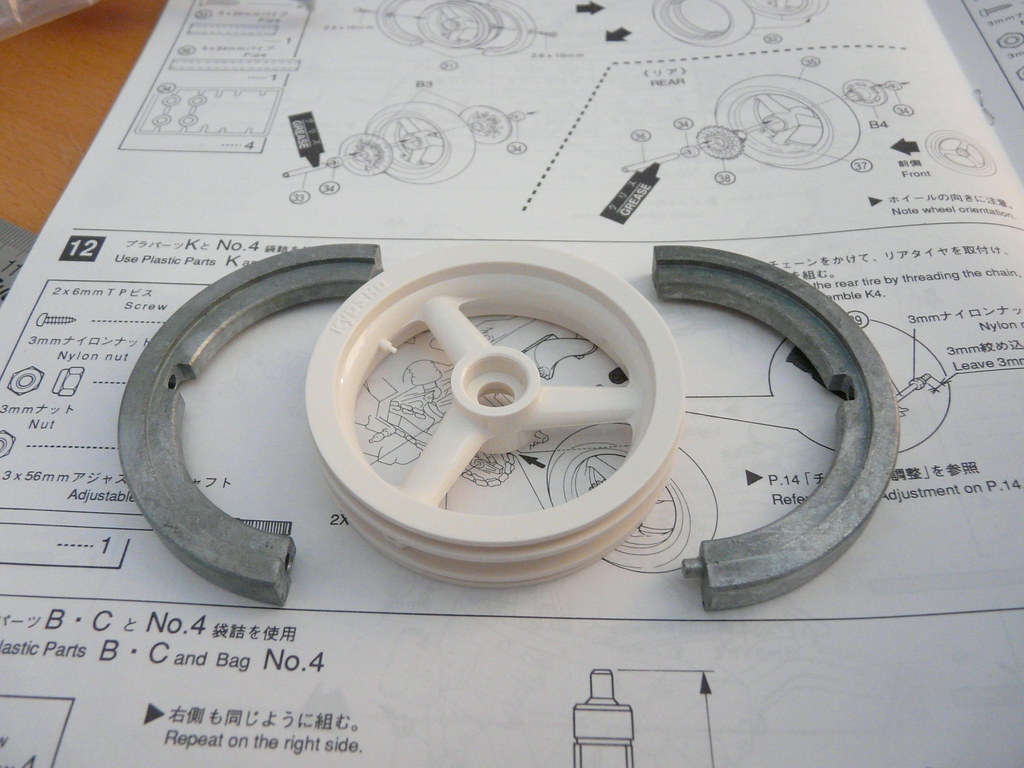
Next step are the wheels. The front wheel is loaded with metal weights, I guess it helps with leaning the bike since the servo only controls the rider. I'll get back to this when I actually run the bike.
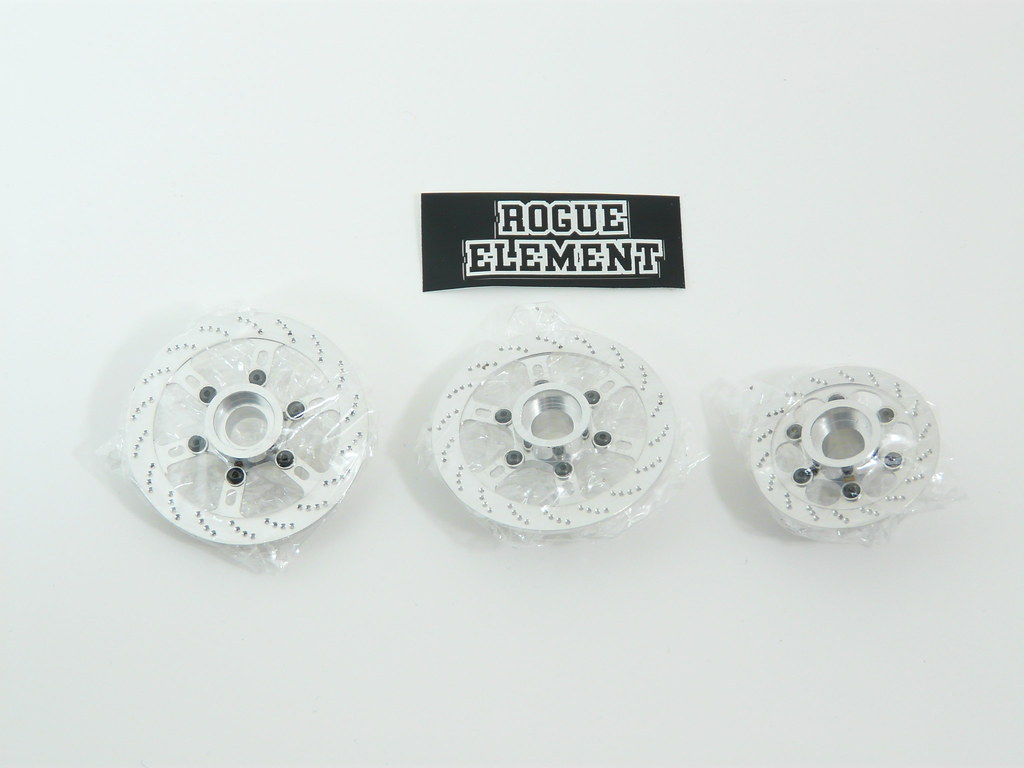
Finally it's the brake disks installation step. These brake disks are just for looks, they are not functional. However, I believe there are mods which adds functional disk brakes to this bike. Instead of the gray stock plastic pieces, I opt for the 2-piece aluminum pieces from Rogue Element Components.
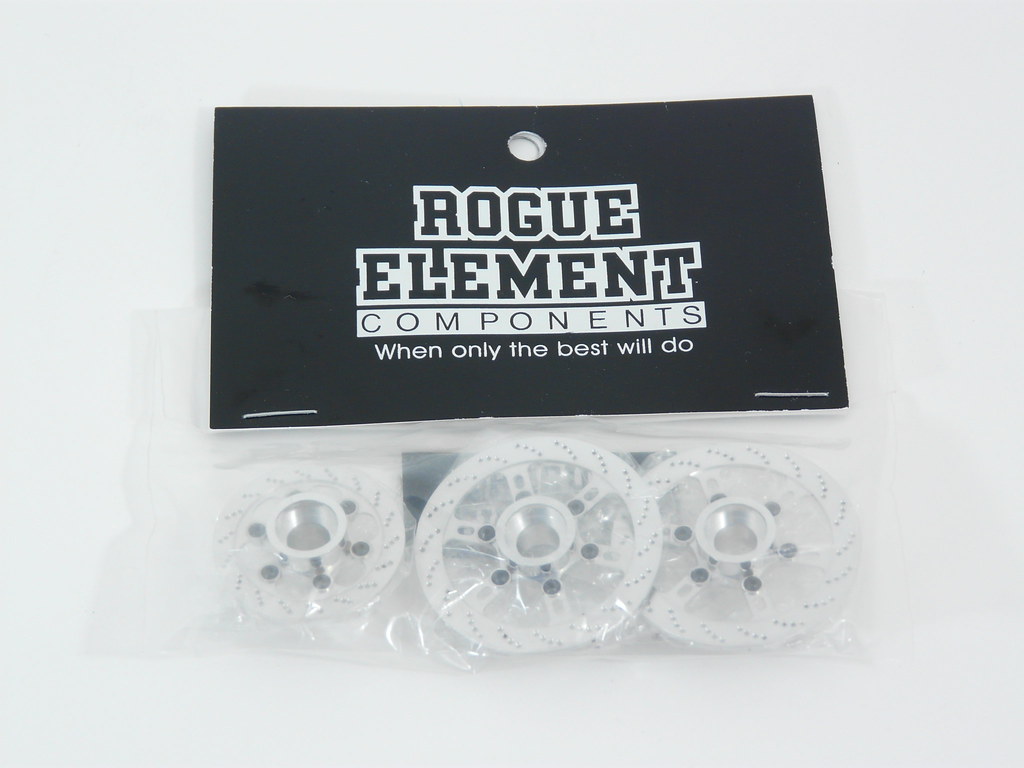
Each disks comes individually wrapped. The face side of the disks are polished to a shiny finish and the back side is machined finish (the back side is not really visible on the bike, so it doesn't really matter). Each unit is 2-piece consisting of the disk itself mounted onto the hub via six tiny hex screws.
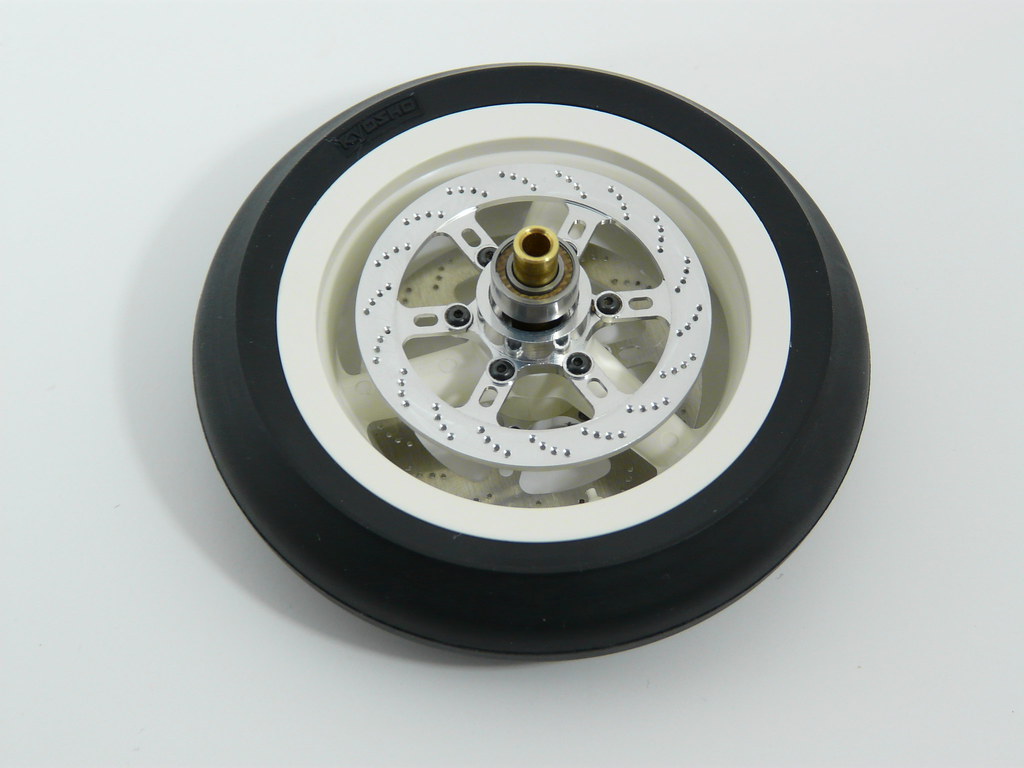
These pieces look DROOL-tastic mounted on the wheels. I want some black alloy wheels to go with these. The disks look so beautiful, like a piece of jewelery. I left the titanium sprocket out for now, it's going to be installed along with the rest of the drivetrain upgrade.
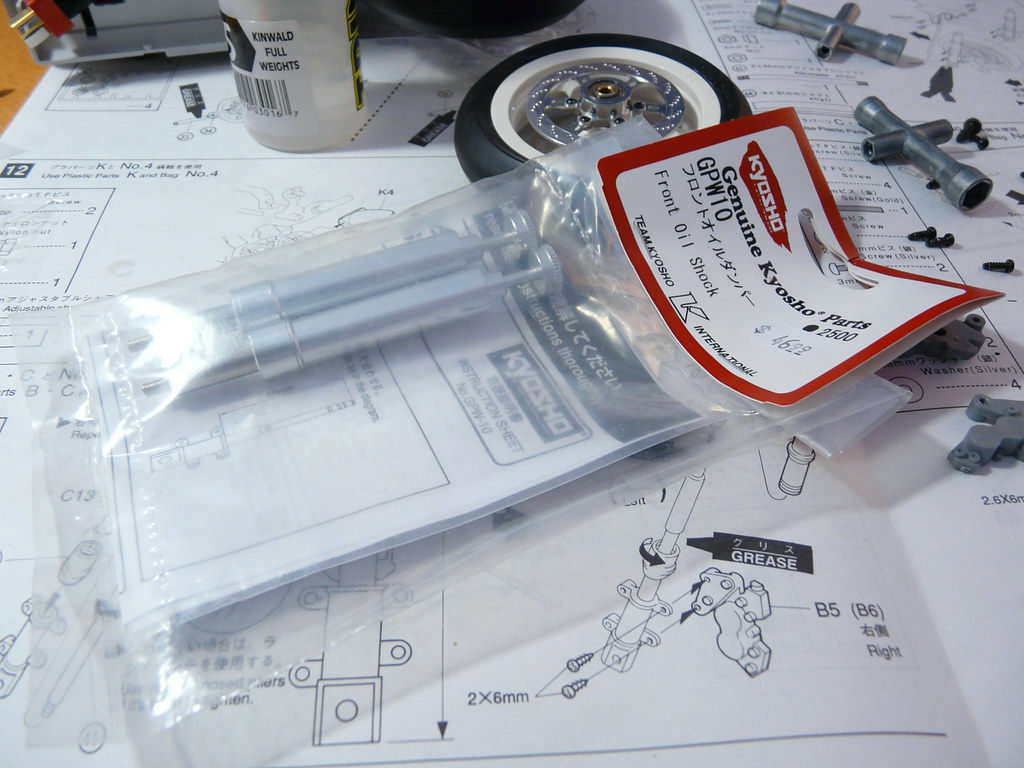
The next part of the build is the front forks. The stock units are spring loaded, I went with the Kyosho oil-filled units. In the first post, I had shown the Kyosho unit pre-built, that one was built by my dad. As I know him, he probably built it wrong because gobs of oil was leaking out of it. So I decided to build a new set, it took some time to get right, but it's leak-free now.
The bike is almost complete. Only thing remaining is the rider figure. I am planning to take it apart after I finish for the painting and the drivetrain upgrade.

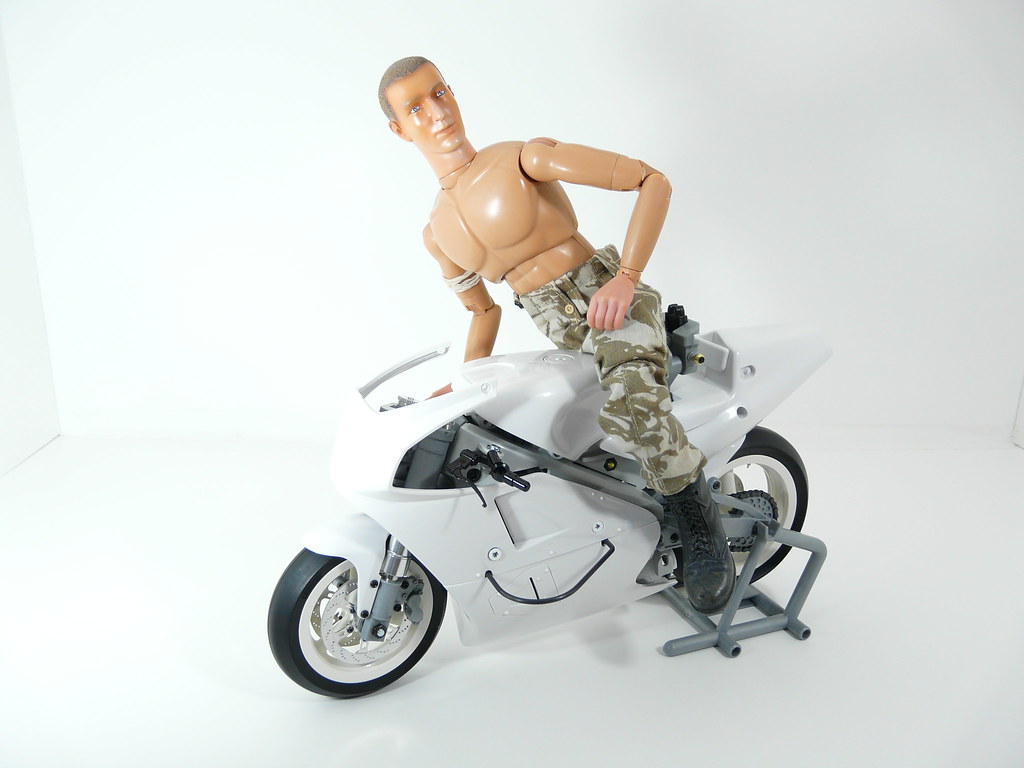
Testing out the bike with a 1:6 figure. I think he looks a bit big on the bike. The weird thing is that the kit rider's head is almost the same size as this figure.
(Why is he topless? Just thought he wouldn't look good with army attire on a sports bike.)
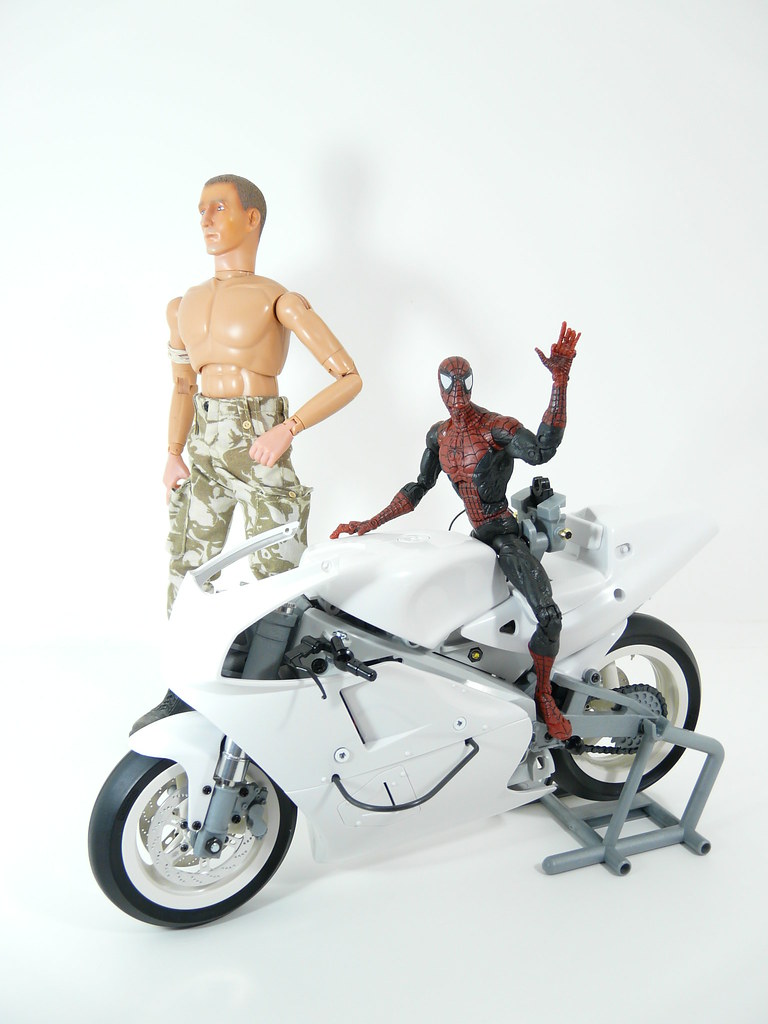
Spiderman wanted to try too.
And just a final one with the front glass installed.

Nice bike. Hope to see it in full color!
ReplyDeleteThanks! I am still hunting down the color I need.
ReplyDeleteFrick... now I wanted to try as well. I've been wanting to get my hands on this stuffs, but didn't have the will and guts to do it. Hahahaha...
ReplyDeleteWaiting for the next part, bro.